DISCLOSURE: This post contains affiliate links. If you purchase through our links we may earn a small commission at no extra cost to you.
Already have your design? Each design in our library includes the recommended aftercare protocol for its specific style and placement. Browse verified designs →
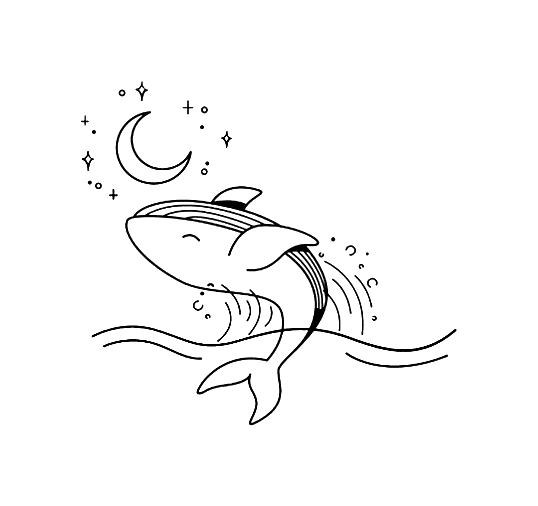
The Short Answer
Welcome back to TattoosMap.
You finally found it. The perfect design. You’ve saved it, stared at it for weeks, and you know it’s "the one." But before you sit in the artist's chair and hear the buzz of the machine, you have to answer the hardest question in the studio:
“Where is this going?”
Getting a tattoo is 50% about the art and 50% about the real estate. A brilliant design can look awkward if it’s slapped onto the wrong part of the body, while a simple piece can look incredibly striking if it flows perfectly with your anatomy.
Here is how to map out your next piece so you never have placement regrets.
- The Visibility Factor: Who is this for?
Before you think about pain or size, think about your daily life.
High Visibility (Forearms, Hands, Neck): These are your statement pieces. You will see them every day, and so will everyone else. Make sure it's a design you never get tired of explaining.

Medium Visibility (Upper Arms, Calves, Shoulders): The sweet spot. Easy to show off in a t-shirt or shorts, but just as easy to cover up in a strict professional setting.

Hidden Gems (Ribs, Sternum, Thighs, Back): These are for you and the people closest to you. They offer a larger, flatter canvas for intricate designs without the pressure of constant public display.
2. Anatomy and Flow
The human body isn’t a flat piece of paper; it’s a 3D canvas with curves, muscles, and joints. A rigid, perfectly circular geometric design might warp when placed directly over the curve of your bicep or knee. Conversely, sweeping, organic designs like botanical vines or Japanese waves look incredible when they are designed to wrap around the natural lines of your forearm or calf.
Pro-tip: Ask your artist about the "flow." A good artist will resize and tilt the stencil so the tattoo moves with your body, not against it. 3. The Pain Map (Yes, it matters)
We all have different pain tolerances, but the general rule of thumb is simple: if there is a lot of fat and muscle, it’s a breeze. If it’s right over a bone or on highly sensitive skin, buckle up.
Easy Mode: Outer thighs, forearms, calves, and outer shoulders.

Spicy Mode: Ribs, sternum, kneecaps, hands, and the top of the feet.
Don't let pain dictate your final choice, but it’s always better to know what you are walking into! 4. The "Test Drive"
Never skip the preview phase. In the studio, your artist will apply a purple carbon stencil. Don’t just glance at it in the mirror—really look at it. Move your arm, twist your torso, and see how the design shifts when you move.
If it feels even a millimeter off, ask them to wipe it off and re-apply it. A good artist will do this five times if they have to. It’s permanent; the stencil is not.
(And who knows, maybe one day soon we'll have a way to realistically test-drive our ink digitally before we even step foot in the studio... stay tuned.)
What’s your favorite tattoo placement? Drop a comment below and let us know where you are planning your next piece!