Related Studio & Technical Guides
- Needle Configuration: Understand taper & groupings in our Best Tattoo Needles Guide.
- Machine Setup: Compare starter rotary options in our Best Tattoo Machine for Beginners Guide.
- Hygiene Standards: Review barrier controls in our Best Tattoo Grip & Supply Guide.
The Ranked List
DISCLOSURE: This post contains affiliate links. If you purchase through our links we may earn a small commission at no extra cost to you.
Jecqbor Inkjet 6-Pack
BEST OVERALL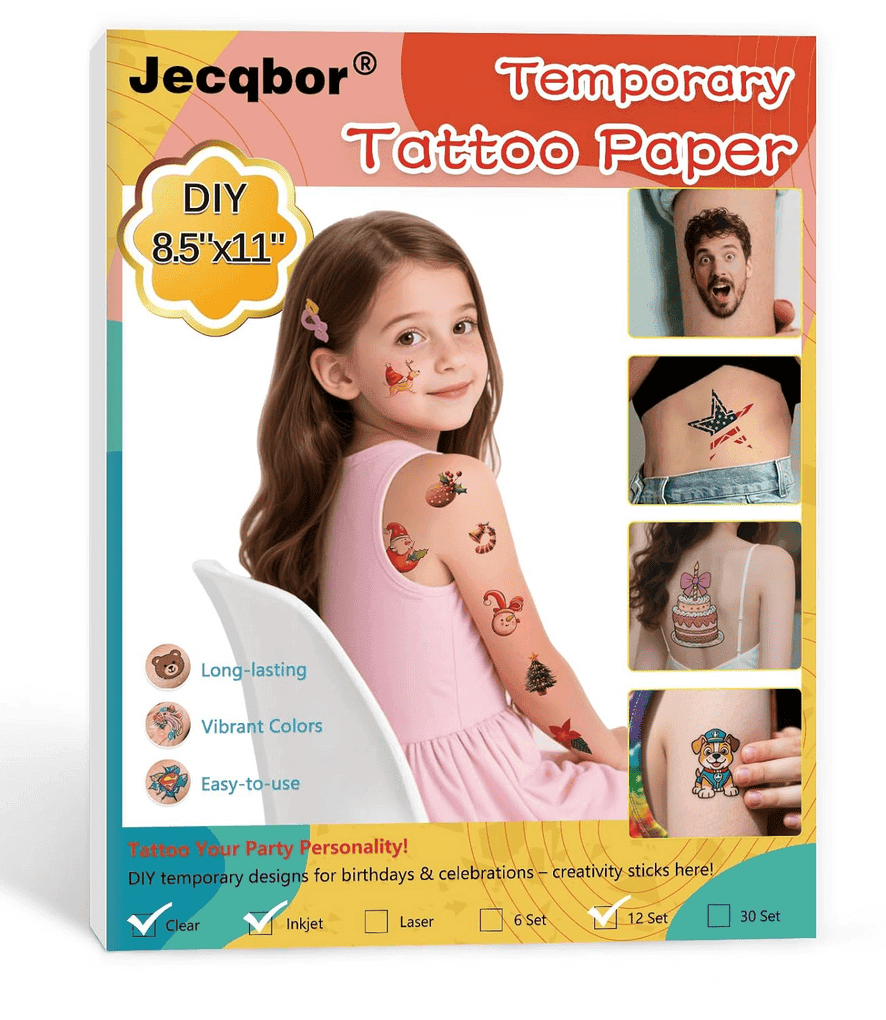
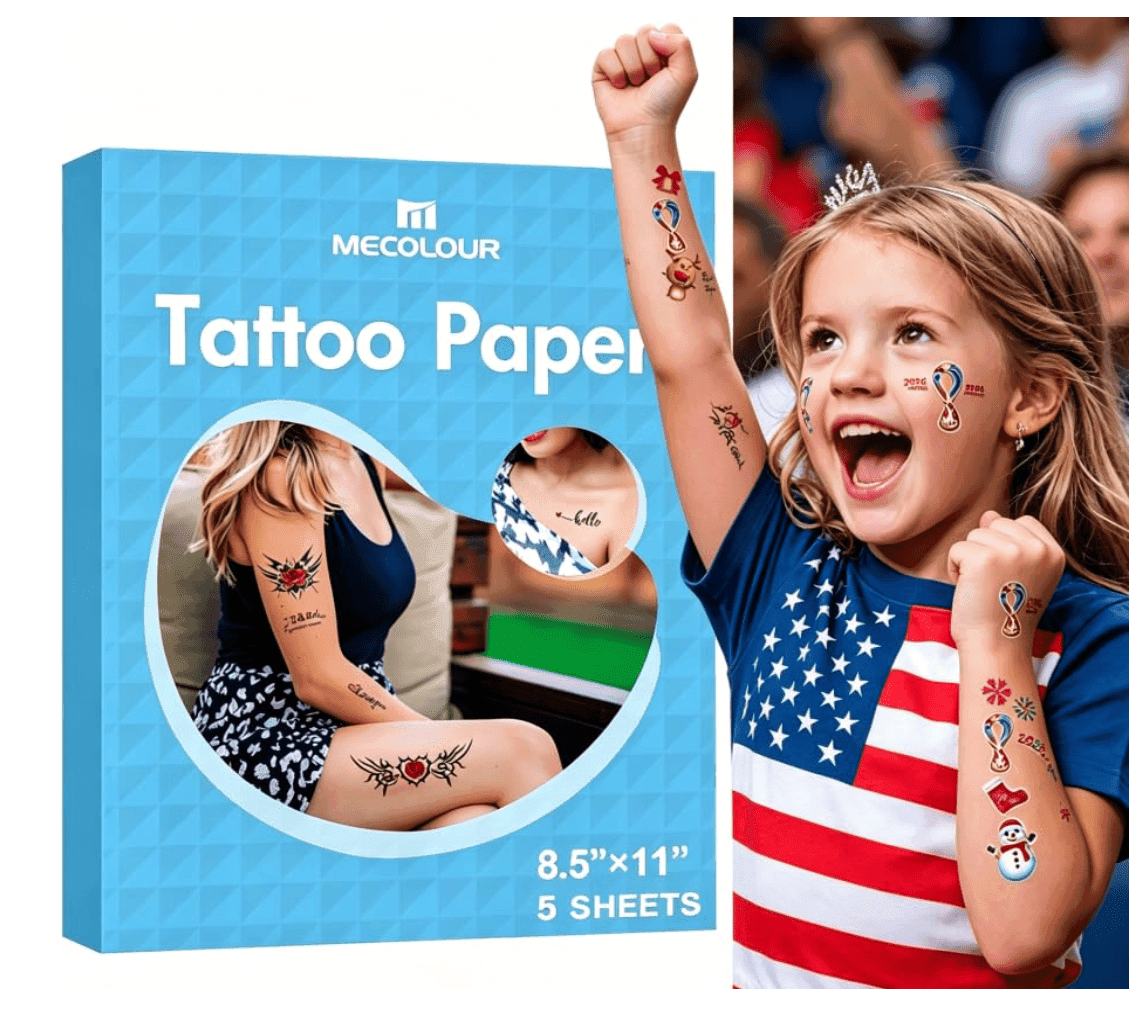
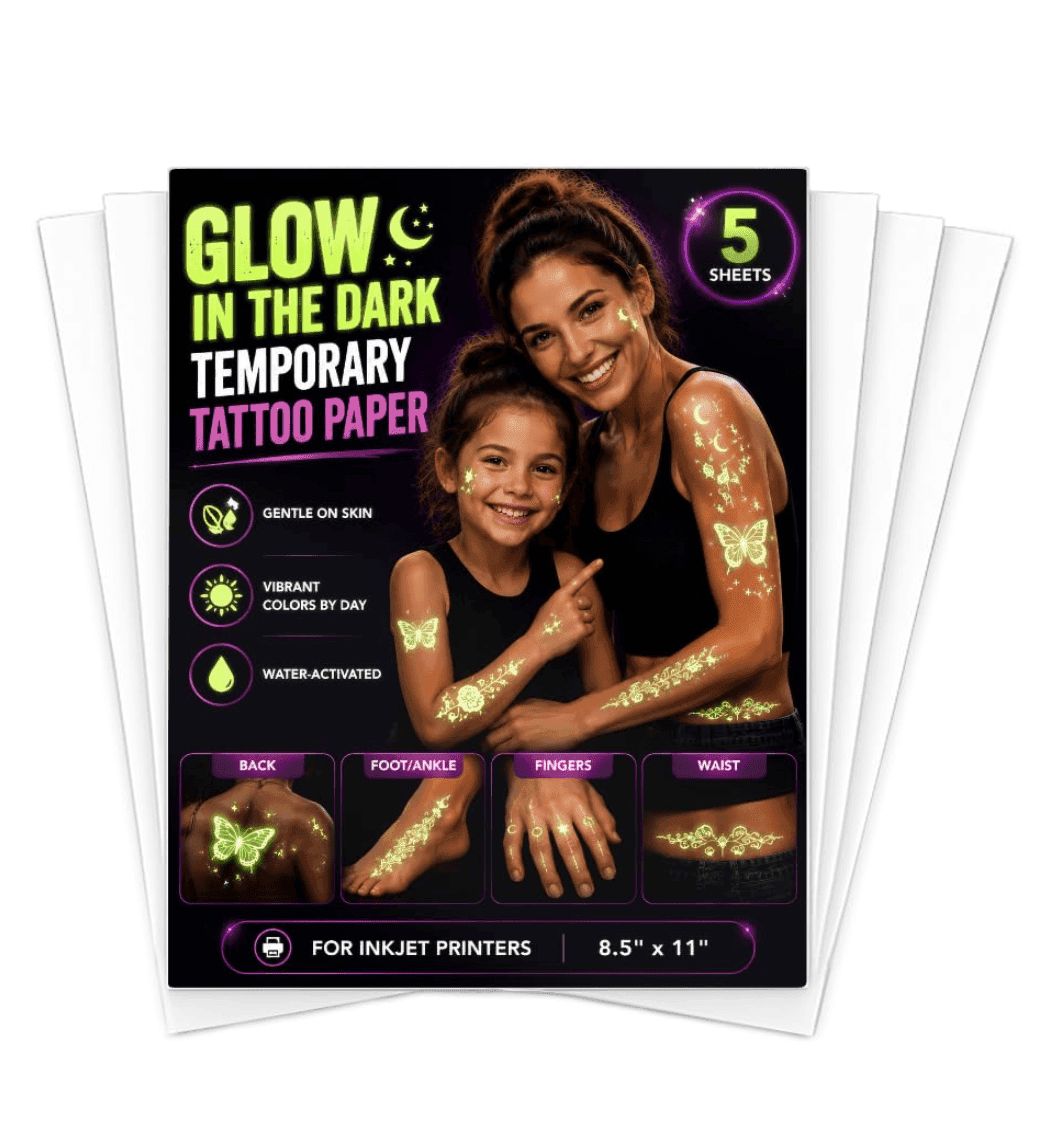
What it actually does >> Six 8.5" x 11" sheets that work with any inkjet printer. Prints come out vibrant and realistic, and the application process is straightforward even for first-timers . The tattoos look convincing for parties, costumes, or testing designs before permanent ink. The clear instructions guide you through printing and transferring smoothly.
Removal can leave sticky residue that needs baby oil or rubbing alcohol to fully clear . This is true for most water-slide papers, not just Jecqbor. Also, these are best for single day events they won't survive multiple days of showers and friction.
How Water-Release Transfer Paper Actually Bonds to Skin
Inkjet temporary tattoo paper has three functional layers: the backing sheet, the water-soluble adhesive layer, and the transfer film that holds the printed image. When wet, the water-soluble adhesive layer dissolves, releasing the transfer film from the backing sheet. The transfer film — which is a thin polyurethane or similar film with the printed image embedded in it — then sits on the skin surface held by a combination of the residual adhesive and the skin surface tension. The sealer coating applied after printing adds a protective layer over the printed image that resists water penetration, preventing the ink from running when the transfer is wetted during application. Without sealer the inkjet ink would run when the paper is wetted, producing a smeared rather than sharp transfer. The durability of the final result depends on how well the transfer film adheres to the skin surface — which varies with skin texture, oil content, and how much the placement area moves. Oily or recently moisturised skin dramatically reduces adhesion because the oil prevents the transfer film from making direct contact with the skin surface.
"Temporary tattoo paper is not a tattoo — it is a film sitting on your skin. The sealer is what keeps the film together. Under-apply the sealer and the film falls apart regardless of how good the paper is."
Already have your design? Each design in our library includes the recommended aftercare protocol for its specific style and placement. Browse verified designs →
Exactly What To Do, Day by Day
DESIGN AND PRINT.
Create your design. Set your printer to mirror the image so it transfers the right way. Print on Sheet A (the one with the brand logo on the back)
DRY THOROUGHLY.
Use a hair dryer on high heat for 2-3 minutes until the ink is completely dry . If you skip this, the adhesive sheet will smudge your design.
APPLY THE ADHESIVE.
Peel the white backing off Sheet B. Press the clear adhesive sheet onto your printed design. Use a scraper or credit card to smooth out bubbles
CUT OUT THE DESIGN.
Cut around your design. Round the corners slightly—square edges peel up faster
PREP THE SKIN.
Clean the area with soap and water. Dry completely. No lotion, no sunscreen
APPLY.
Peel off the clear protective layer. Place the tattoo face-down on skin. Press a damp cloth firmly over it for 25-35 seconds
PEEL AND DRY.
Gently peel the paper away. Let it dry for 30 minutes before touching or rubbing
What To Never Use
Papers that don't specify printer type.
Inkjet and laser papers are different. Using the wrong one either smears or doesn't transfer at all
Super cheap no-name brands.
Customer reviews are filled with "wouldn't stick to my skin" and "waste of money." You get what you pay for
Cricut or Silhouette paper if you don't own the machine.
These are designed for precise machine cutting, not hand-cutting,Also more expensive per sheet.
Paper that arrives folded or creased.
Folds ruin the adhesive layer. Return it immediately